Search This Blog

Tuesday, 20 November 2012

Roasted Butternut Squash Soup


Tom again tonight,

Making soups out of squashes (and pumpkins!) is an absolute favourite of mine. When roasted the flesh almost melts down to give a really smooth and almost creamy flavour. I have…not to say perfected, but tried and tested two recipes for roasted butternut squash soup, and to be honest, I can’t decide which is better. So I’m going to list both here and you can decide which you prefer!

Simple Hearty Butternut Squash Soup

This soup is a really good warming winter lunch when going outside is just too cold to be worth it. For those who eat cheese, this soup is amazing with chunks of gruyere dropped in to melt, or for that matter any cheese (cheddar melts gloriously). Once made the soup will freeze well and keep for…well I’ve never kept it long enough to find out. However, once you defrost it fully give it a stir before you heat it up again as it will separate (and look pretty disgusting I should warn you) but once it starts to bubble it should go back to looking more like soup.

Ingredients:

1 large Butternut Squash
2 large Onions
3 large cloves of Garlic
2 tbsp Oil (or butter)
1 tsp Nutmeg
Pinch of Cloves (optional)
1 litre of Vegetable Stock
Salt and Pepper to taste

Heat oven to 200°C
Split the butternut squash in half
Scoop out the seeds using a spoon and discard
Place on a baking tray (flesh down) and bake for 25-30 minutes (or until flesh is soft throughout). Once it’s fully roasted, leave it on a side to cool, then carry on with the recipe (You can also stop at this point and freeze the butternut squash for a later date, the flesh is soft enough to scoop off the skin and can but put in a tub easily).
Chop the onion roughly and add the oil or butter (whether vegan or dairy). Butter gives richness and some colour to the onions but also adds fat so it’s your call.
Now put the lid on and leave it. Totally. You can stir it occasionally but that’s it. Leave it for about 20 minutes. The onions will really brown and caramelise which gives the soup a rich flavour with really goes with the roasted butternut squash.
Once the 20 minutes are up add the garlic and few for another couple of minutes, then scoop out the flesh of the butternut squash and add it to the pan.
Fry the flesh for just a couple of minutes while you season the soup with nutmeg and salt and pepper, and cloves if you want (just a really little bit).
Next add enough of the stock to cover the squash and bring the whole lot to the boil
Simmer for just a couple of minutes, then if it’s the right consistency, take it off the heat and blend.
Serve with bread and enjoy!

Nutritional Information (is made into 5 portions)

                         Calories      Carbs      Fat      Protein       Sodium        Sugar
          Total:         669           108        30           9              481             24
Per Serving:          134            22          6            2               96               5

Spicy Roasted Butternut Squash Soup

This recipe has a lot more flavours added. Also the combination of garlic, squash and chili gives off a really enticing smell. (This one has photos!) If you’re not such a fan of chili I would recommend the simple version of this roasted butternut squash soup. I like using both fresh and cooked chilli as they have quite different flavours and also different levels of heat so this recipe fries 2/3 of a chilli in with the soup and then adds the final third just before blending. I like to add butterbeans to this to vary the texture slightly, but if you don’t like them, don’t add them!

1 large Butternut Squash
2 large Onions
3 large cloves of Garlic
1 Red Chili
2 tbsp Oil (or butter)
1 tsp Cumin
1 tsp Corriander
1 tsp Paprika
1 litre of Vegetable Stock
1/2 can Butterbeans (optional)
Dash of Soy Sauce
Salt and Pepper to taste

This recipe starts off the same as the previous – halve the squash and roast it as above (200°C for 25-30 minutes), then leave too cool before removing the skin.
Then roughly chop the two onions and add to a large pan, caramelise with a lid on for a good 20 minutes.


Once the onions have browned nicely, chop up the garlic and the chili. Add all of the garlic and 2/3 of the chili.


Fry for a further two minutes, and then add the butternut squash flesh. Heat through and then add the spices, and fry briefly.
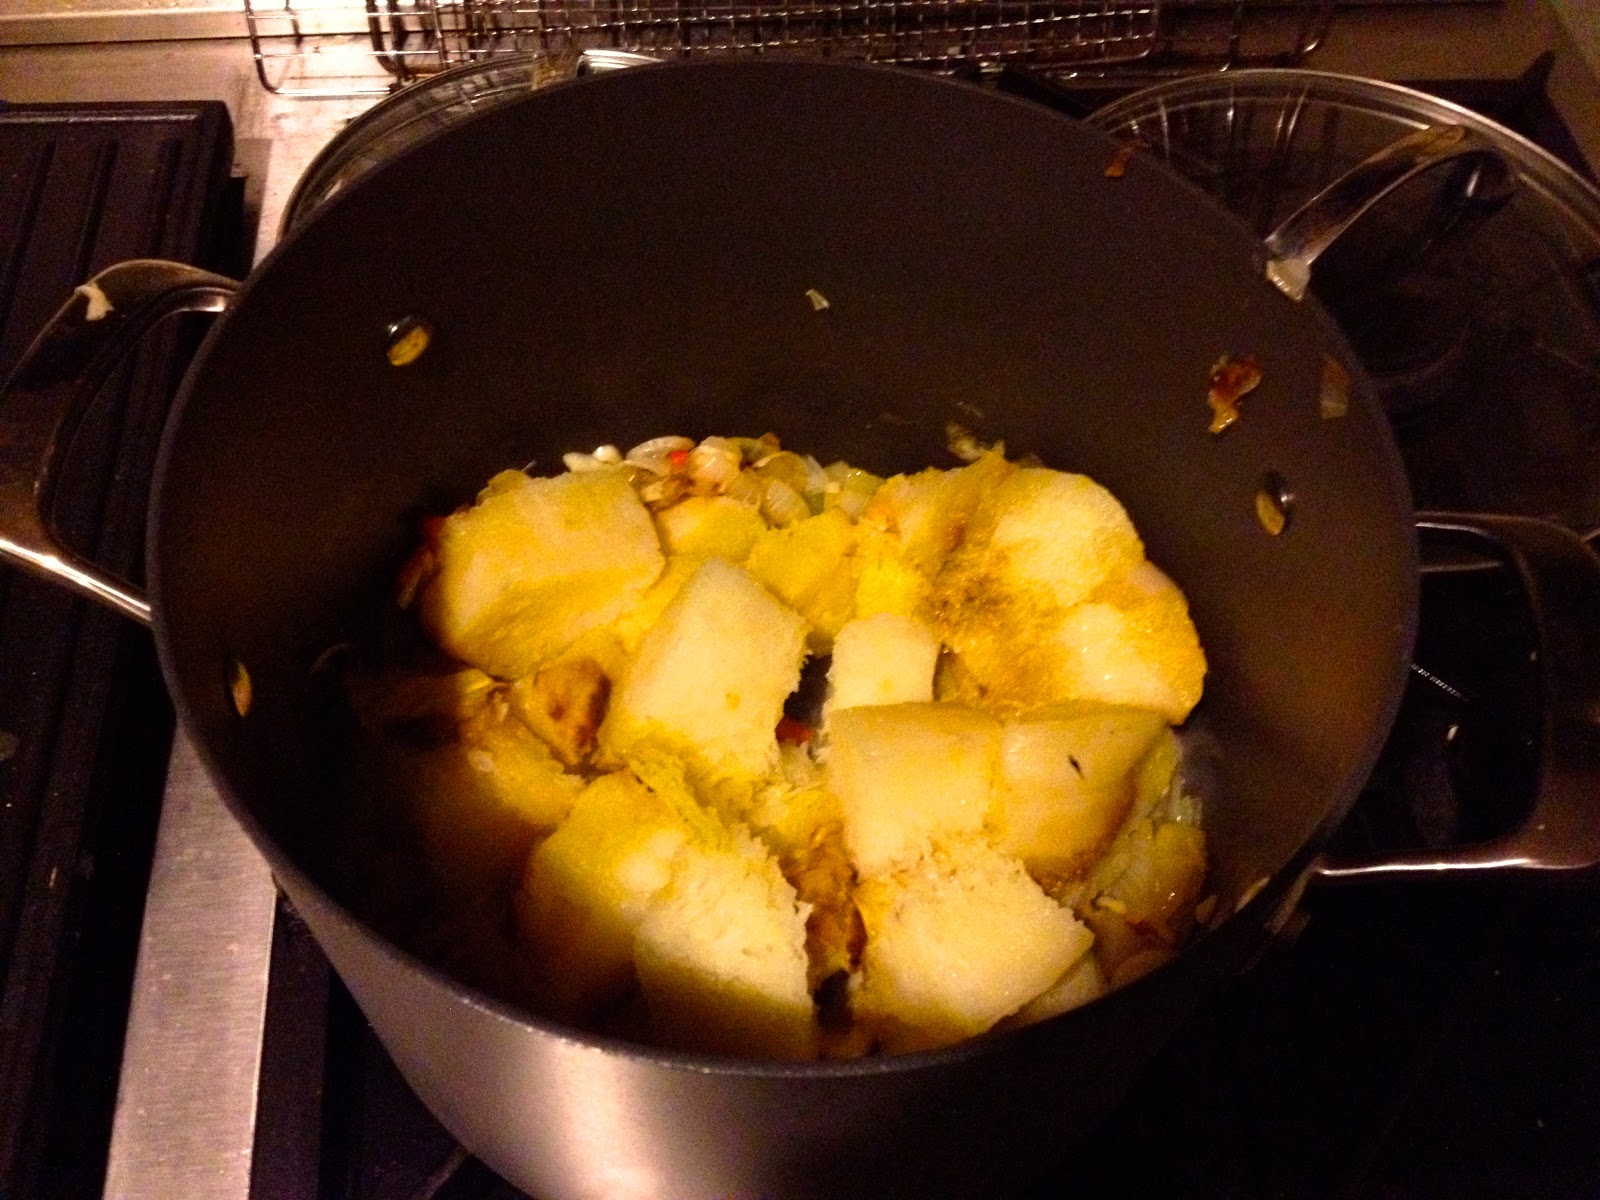


Next pour in all the stock until it covers the ingredients. Don’t add it all if you don’t need too, it will be too runny.


Ignore the butterbeans, I added them by accident then had to fish them out again one by one. Here's an artist's impression of what that might have looked like.

Wait a minute...what did you use as bait for butterbeans?
Sorry, got a bit sidetracked there. Really trying hard not to get any work done tonight. Now bring the soup to the boil, and simmer to the correct thickness (as you like!).
Add the final 1/3 of the chilli, and blend until smooth.
Now you can add the butterbeans (if you are).
Finally serve in a bowl with a nice piece of crusty bread.
Add a dash of soy sauce to the soup to give it a nice depth of flavour.


Hope you enjoy these recipes, and as ever let us know any suggestions or improvements you made at twocooksoneblog@gmail.com. Feel free to create your own variation from the basic recipe!

Friday, 16 November 2012

Thai Chickpea Burgers

Tom's turn today! (alliteration win)

This is one recipe that is almost completely my own creation. After going vegan I had the occasional craving for something nice and hefty and filling and well....burger-like. Anyway, mushrooms burgers without goats cheese just weren't the same so I decided to invent my own recipe. It's similar-ish to falafel (in that it involves chickpeas - but what vegan food doesn't?) and has the spicy fresh flavours that come with thai food. This recipe can be gluten free or not depending on what you use to bind it (see the notes in the recipe list).

The nutritional values are listed here (as best as I could work them out), this recipe makes 8 small burgers or 4 large-ish burgers (I'd usually use this to make 4 dinners worth):

                        Calories      Carbs       Fat      Protein       Sodium        Sugar
   Total                530            73          32         18               36               9
  Per Serving         66              9            3           2                5                1

Ingredients:

1 can Chickpeas
1/2 an Onion (I prefer red)
1/2 a Courgette
3 cloves of Garlic
1 cm piece of fresh Ginger (I have absolutely no idea how much this weighs - maybe 40g? You can use Ground Ginger if you want, probably around 1.5 tsp will be alright)
1 Lime
2 tbsp Tomato Paste
1 small Red Chili
1 tbsp Olive Oil (or if you have it sesame gives a great flavour)
1 tbsp Soy Sauce
Either 4 tbsp Flour/Gluten Free Flour OR 5 tbsp Oats
1 tsp Baking Powder
1 tbsp Cornflour
Salt and Pepper to taste

This works with a mixture of the two i.e. 2 tbsp Flour and 3 tbsp Oats. If you eat eggs and want to use one instead I would substitute the half the flour and the oil for one egg (you can omit all the flour if you want too but it helps to make the mixture the right consistency - as always, have an experiment). I know buying fresh ginger probably feels like a massive pain but trust me DO IT. It is undoubtedly worth it. At the risk of sounding pretentious (who I am I kidding? I'm vegan) ground ginger just doesn't even compare in flavour and you need so much more to taste it and it just isn't as nice. A decent sized piece of ginger is a staple of my weekly shop, I'd recommend it.

Recipe:

Preheat the oven to 220 degrees celcius.
Strain and wash the chickpeas (you don't necessarily need to do this, I just hate the smell of the water they come in).
Smush them in mixing bowl - you can use a potato masher if you want but honestly, I find it easier to just use my hands. Punch them, physically punch them. Great stress release.
Chop up the onion, chili and garlic and add it into the bowl.
Grate the courgette and the ginger into the bowl.
Juice and zest the lime.
Add the tomato paste, soy sauce and olive oil and mix thoroughly.
Either sift in the flour and baking powder and cornflour or stir in the oats.
Season to taste.
Mix around with you hands until they are a good consistency (this doesn't always happen, add either more lime juice/water or flour until you can make them start to stick together).
Squash into burger shapes and place on a baking tray.
Bake for 20-25 minutes on either side (or until golden brown/it looks cooked - entirely your call).
Serve and enjoy!

I like to serve two of these with boiled new potatoes, steamed veg and/or a salad - having both takes this to about 500 calories a portion (based on 150g potatoes, a normal size of vegetables). Also protip: a glug of sweet chili sauce can save even the driest and most burnt of burgers (something you learn quickly if you have as bad a memory as mine).

This is just how I like these burgers HOWEVER, not everyone likes thai food (I don't know why it's just true) so feel free to scrap all the flavours from these burgers and just use the basic recipe (chickpeas, courgette, onion, oil, baking power and flour/oats) and make them how you want to.

Suggestions:

Add a stick of lemongrass (or ground lemongrass) for an extra thai flavour - I didn't put this in the main recipe as it's something of a specialist ingredient but it regularly makes an appearance in mine.
Add a tsp of cumin, paprika, tomato paste and garlic - more of a mexican vibe

As always, let us know your improvements at twocooksoneblog@gmail.com or leave a comment!


Vegan Banana and Peanut Butter Pancakes

A very tired but glad-to-be-home Tom here,

This is a recipe my mum taught me that I make for a special treat breakfast once in a blue moon when I don't wake up, grab the museli I made the night before and run out of the door at top speed half dressed and definitely not awake. However, this morning being.....well almost 70-80% awake, I had a phenomenal brainwave whilst eating peanut butter from a jar with my fing.....I mean spreading peanut butter on toast like a normal, respectable human being. (I love peanut butter, you get the picture)

So here it is.

Makes three small or one large pancake (a rough single person portion)

Ingredients:

1/2 a cup of Milk (I use almond but as ever, any will work)
1/3 of a Banana
3-4 tbsp Flour (I use self raising, works well with any flour including gf - my mum recommends millet but since I don't know what a millet is or how to get flour from it I stick to what's in my cupboard)
1 very small teaspoon of Peanut Butter
A pinch of Baking Powder (provided you're not using self raising flour, I mean like 1/8 of a tsp, really don't need much)
A sprinkling of Sunflower Seeds

The basic recipe here is the milk, flour and banana to bind it. This is my variation but these pancakes are excellent just with the basic recipe, or with cinnamon (as always), blueberries, maple syrup, date syrup, almond butter, chocolate chips.....you get the picture. Add what you want. Enjoy.

I make the whole lot in one mug and just pour into into a hot, lightly greased non-stick pan and cook on either side until golden (go for medium heat on the hob, I know the high one looks fun and sizzles and sounds good but trust me, they burn quick), minimal effort, minimal washing up.

Method:

Combine all ingredients except the sunflower seeds (you really need the tiniest amount of peanut butter, you'll still taste it, panic not) in a mug and blend until smooth.
I'd add three tbsp of flour, see what it looks like, and if it looks a bit thin add the extra one. If you like crepe-like pancakes keep it thin (3 tbsp) or if you're like me and like thick pancakes keep the mixture thick (4 tbsp).
Stir in the sunflower seeds and then fry in a pan, flip after say 30-40 seconds when they look golden (leave them for at least 30 seconds as if you try and flip them early they just smush)
Serve with chopped up fresh fruit (I go for strawberries, blueberries and grapes) and a sprinkling of cinnamon on top. Sweeten to taste!

Nutritional Info (using self raising flour and including oil for frying):


                          Calories      Carbs       Fat      Protein       Sodium        Sugar
per Serving             333            46         14          19              22              14

NB// Including fruit and cinammon adds about 23 calories more (if you add half a cup of fruit)


As always, try your own variations and let us know what you come up with at twocooksoneblog@gmail.com or leave a comment. We love to get pictures!


Tuesday, 13 November 2012

Spicy Garlic and Lime Prawns


Just Jess here today! Tom is busy being a student.

Sadly (or not), this recipe isn't vegan. I love seafood and will apologise to nobody for this. It is however, gluten free, easy to make and really versatile. The ingredients I used made enough for two - I ate half fresh with gluten free spaghetti and kept half overnight in the fridge to eat the next day with salad. I imagine it would also work well with any other type of pasta, rice, potatoes, veggies, anything you fancy.If cooking for more people, just double the ingredients up.

Ingredients
1 lime, zest and juice
1 clove garlic, chopped
1 chilli pepper (I used a small red one), chopped
A drop of olive oil
100g king prawns
1/2 tin/carton passata (or chopped tomatoes, up to you)
1/2 pack (or about 10) closed cup mushrooms, chopped
1/2 courgette, sliced
Paprika and italian herbs to season

First, add half the lime juice to the prawns to marinate for a while. I just left it whilst I was chopping the veg but you could leave it longer.

Fry the chopped chilli and garlic in the pan and add around 1/4 of the lime zest. After a couple of minutes, add the mushrooms. When the mushrooms are softening, add the courgette. Fry until softened, then add the prawns and another 1/4 of zest. Fry the prawns with the veg for a couple of minutes, then add the passata/tomatoes, the remaining lime juice and zest. Cook for a few minutes until it starts to bubble a bit, then add the paprika and herbs. Cook for another 3-5 minutes. And serve.


Simple. I also added sweetcorn to the recipe, adding with the passata, but this is just a preference (and I had corn to use up...). If you like onion, fry one with the garlic and chilli. I'm weird and only cook onions with red meat. But again, just a preference. Oh yeah, and when I say italian herbs, I mean I literally used a couple of teaspoons of 'herbs italienne' that I bought in a French supermarket earlier in the year. Basil and oregano are probably what that means.

Vegan, Gluten Free Breakfast Muffins

It only seems right to start this blog with a healthy, low cal recipe suitable for vegans and coeliacs.

So, we've perfected the muffin that contains no flour, sugar, butter or eggs. We varied this a few times to make sure we got a good texture.

Jess: On telling friends, and my Mum, about the ingredients I was met with disbelief that it would actually taste like a muffin. But it does. It looks like one too. Despite being such a healthy recipe, it took me a while to get my head around not feeling guilty eating a muffin, because I've always associated them with being overly indulgent treats. But this recipe really is good for you, it keeps you full for hours and definitely stops the need for a snack to get you through the morning. This could also be great for diabetic people too, as oat bran, flaxseed and cinnamon all have links to stabilising blood sugar levels.

The basic recipe for this is one we found online, but it was a bit plain and (although still tasty) so we decided to experiment with this and make it generally much more appealing and wonderful. The basic recipe is as follows:

Basic Flaxseed Muffin:

1 egg
3 tbsp flaxseed
1 tsp of baking powder
1 tbsp oil

Mix in a mug and microwave for one minute.

The benefit of a recipe this simple (and microwaveable!) is that you can make as many as you want very quickly, so changing a little bit of the recipe at a time was not a problem. First things first, we veganised (yes, it's now a verb) the recipe by substituting half a banana for the egg (Tom: soon I hope to do a general post about vegan baking - watch this space!) We found that this didn't rise so well, so we added some milk (almond - but that's just personal preference) to make it a bit more of a batter, which solved that problem. Then we tried adding oat bran to the muffins to stop them from being quite so stodgy. Finally (the fun bit!) we added lots of combination of spices, vanilla, maple syrup, nut and blueberries till we found what we think is the best recipe!

However, probably while you're making this you'll think "hmmm, this would definitely benefit from just a pinch of.....", or you may even decide you hate cinnamon and blueberries (which would leave you with a very sad and empty life) and want to scrap our recipe and start again from the basic recipe in which case YOU CAN! You officially have our permission to make whatever muffin you think will be best. All we ask is you take a couple of photos and tell us your ideas at twocooksoneblog@gmail.com or post them in a comment below. We want to hear your improvements!

If you haven't cooked using flaxseed before, it's available in health food shops (Jess: I got mine from the Eighth Day Vegetarian shop in Manchester) but Sainsbury's do sometimes sell it too. It's high in fibre so introduce it into your diet slowly and maybe start with 2 tbsp oat bran to 1 tbsp flax if your gut is sensitive. It's a great ingredient to use though, lots of protein and omega-3 fatty acids and its low-carb so good for the dieters. Oat bran is also low carb and full of fibre, adding to the health benefits of these muffins.

This recipe is best made in a regular coffee mug. Any will do.

Ingredients
1/2 banana
1/2 tbsp oil (use whichever type you prefer, olive oil works fine in my experience)
1/2 tbsp milk (again, whichever type you want. Skimmed, full fat, almond, soy...whatever. Water would probably work here too)
2 tbsp milled flaxseed
1 tbsp oat bran (gluten free if needed)
1 tsp baking powder
1-2 tsp cinnamon

Firstly, mash the banana in the mug. Once mashed, it will have a similar consistency to beaten egg.

 Add the oil and milk to the banana and mix. Then add the rest of the ingredients and mix.

 We made this recipe with a few blueberries too, but anything would go in here (eg. other berries, dried fruits, chocolate chips...). Once all mixed together, put the mug in the microwave and cook on full power for 1-2 minutes. Jess: I have a 700W microwave so it took me about 2 mins 20 to be fully cooked, but check after a minute if you're lucky enough to not be living in student accommodation with a microwave from the 18th century.


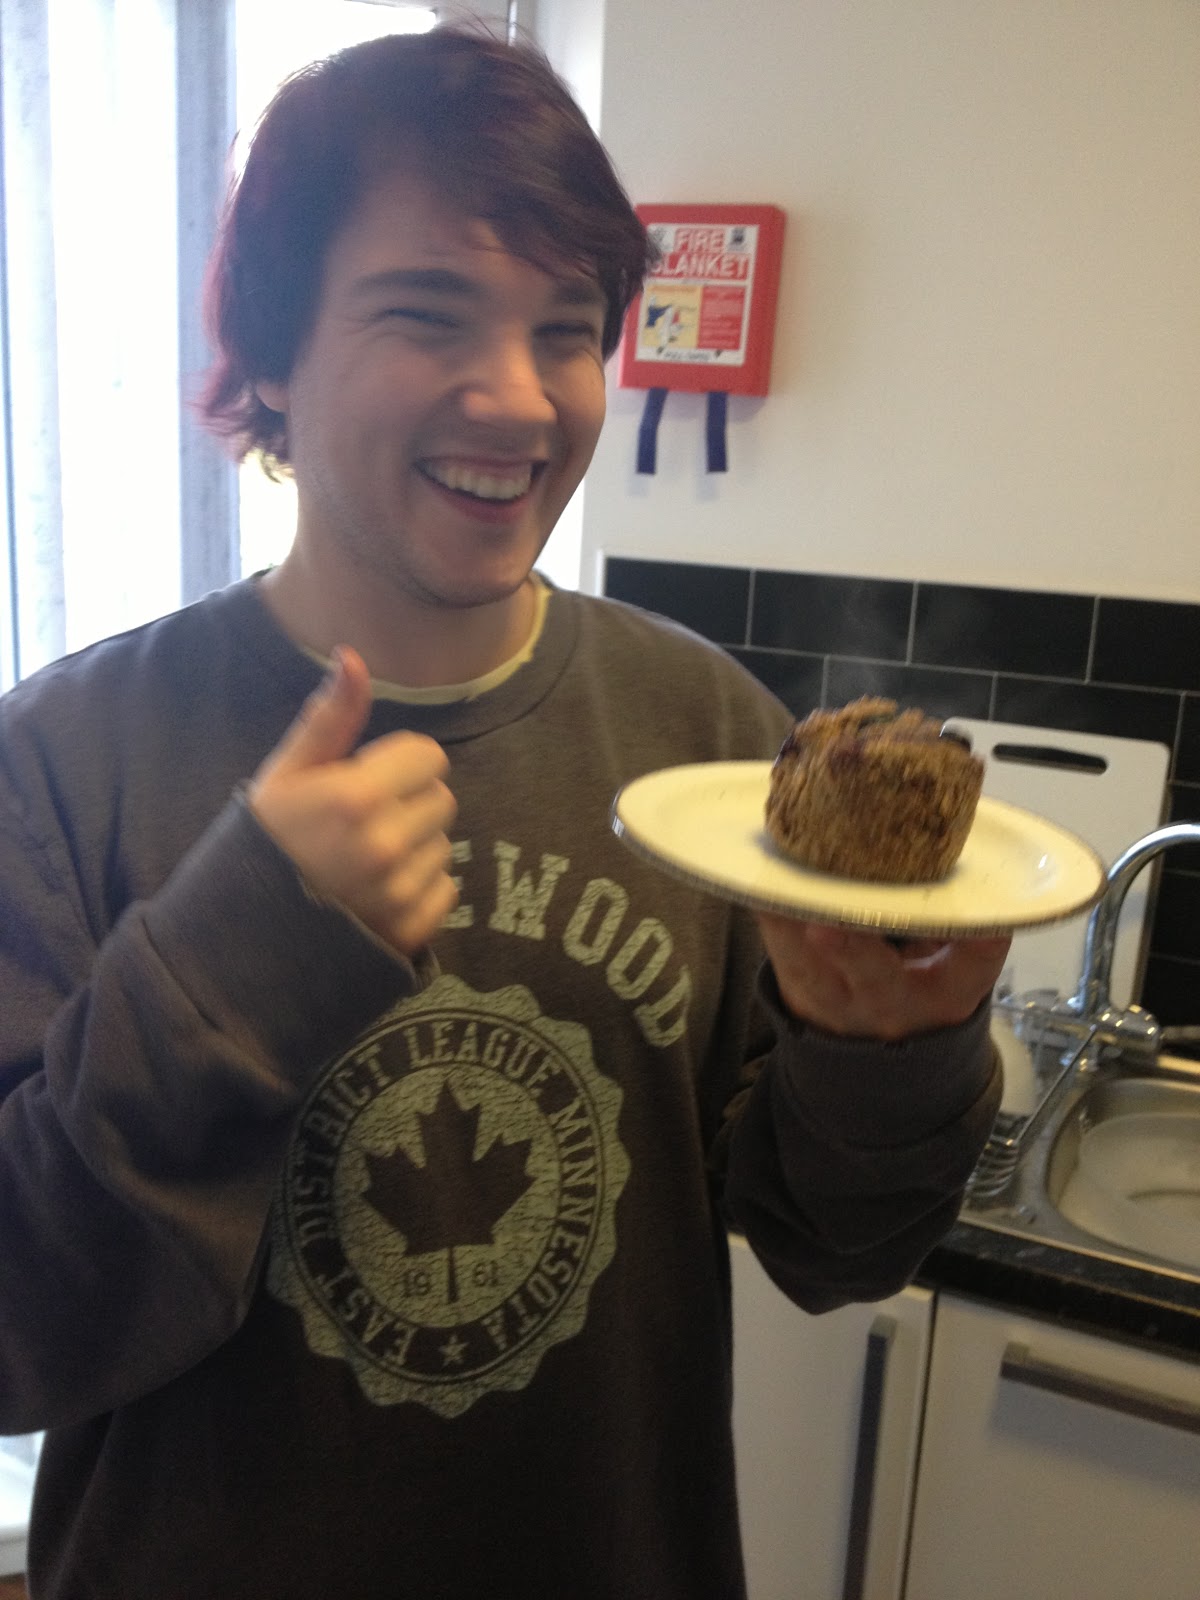
Would you like some eyes with that muffin? Sorry, no can do.


And there you have it. A muffin with no flour, sugar, butter or eggs. If you prefer to use eggs, just substitute the banana for an egg. You don't have to use cinnamon, use anything you wish to flavour it. Vanilla essence also works nicely. We love cinnamon so as you will soon notice, we put bucket loads of it in absolutely everything, but you don't have to.

Using the above recipe (with regular skimmed milk, and a few blueberries), this muffin contains about 210kcal. Completely guilt free and a great filling start to the day.

Enjoy and let us know how it goes!


Sunday, 11 November 2012

The Two Cooks


Hi! Welcome to Two Cooks One Blog. We, the two cooks, are Jess and Tom. Originally from the south-west, we are both in our fourth year of studying in Manchester (yep, holding on to student discount, lie-ins and school night drinking for as long as possible). I, Jess, am doing a masters in Translational Medicine. I'll let you know when I find out what that means. And Tom is in his final year of Cognitive Neuroscience and Psychology after an initial year doing economics. 

I have been wheat intolerant for around four years. I'm not coeliac, so a biscuit wouldn't kill me, but a bowl of pasta would hurt like hell. And Tom has been vegan for 6 months. Ish. Probably more, but he has been known to suspend  veganism for the occasional sushi night. Hey, nobody's perfect. 

I'd love to be vegan myself, but I really like meat (and fish and cheese and milk and chocolate). And Tom eats wheat flour when I'm not there. So our recipes are a mix of gluten free, vegan and both. And maybe sometimes neither. We both try to keep our weight down, so we'll do our best to post nutritional information about the food and make things as healthy as possible. And because we are poor students, we don't generally use ingredients nobody has heard of. I've lost count of the gluten free recipes I've wanted to try until I've realised they involve buying 5 different types of flour and gums and such. Pretty much everything can be sourced in supermarkets (or for the local students, on Oxford Road in Manchester). 

Enjoy the blog and let us know what you think!