Search This Blog

Sunday 30 December 2012

Update - Apple Fudge Brownies

Tom here,

Okay so after a hard(ish) mornings revision and a run in the rain I decided I had all the motivation I needed to get creative in the kitchen and...well I won't say it was exactly the success I was hoping for, but it kinda worked. I may have another try and tweak this later. I tried to keep this as low calorie as possible which may not have worked all that well, I may tweak this again later with another attempt. My logic with this recipe was to try to create a sort of fudge syrup (which has worked before) to give the cake a toffee-fudgy flavour in the background. This turned into more of a porridge, but was still ridiculously tasty so that worked out. My brownies were lacking in some vanilla as I ran out, which really made a difference. Definitely make sure to get some nice vanilla flavour in this (whether paste or extract) as it really makes a difference. Overall, not a complete success but a tasty brownie nonetheless which I will perfect at a later date (when exams aren't looming over my shoulder!)

Ingredients:

3 cups cooked Black Beans
1/2 cup Cocoa
1/2 cup Brown Sugar
1/2 cup Oats (if gluten free use certified oats)
1/2 cup Dates
1/4 cup Raisins
1/2 cup Hazelnuts
4 tsp Cinnamon
2 tsp Vanilla Bean Paste
Pinch of Salt
1 ripe Banana
1 Apple
1/4 cup Soy Milk

This recipe requires a food processor, it might work with a hand blender (as the other ones did) but having a food processor makes life worth living so if you have one, crack it out! Also I made the mistake of adding cloves to mine to try and compensate for the vanilla. This does not work. Mine just taste like clove now. Very disappointing.

Method:

Preheat the oven to 180 degrees celsius
First to make the fudge syrup, put the dates and raisins in a cup and cover with boiling water and leave until cool (around 15 minutes)
Next, put the oats in the food processor and blend until pretty small (like 30 seconds). No need to wash out the bowl as we're going to use it again in a minute but tip the oats into another cup and cover with about a centimetre of cold water and leave until the dates and raisins are cooled.
Once this has happened, blend the dates and raisins into a syrup using a hand blender.
Place this along with the soaked oats and sugar in a small saucepan and heat until the sugar is fully dissolved
Cut up the apple and banana and pulse in the food processor until roughly chopped.
Add the beans, cinnamon, vanilla, soy milk, salt and fudge syrup and blend until smooth(ish)
Bash the hazelnuts in a pestle and mortar until broken down
Add these to the food processor and pulse until mixed (don't blend unless you don't like chunks of nut)
Pour into 2 greased baking tins and bake in the oven for half an hour(ish) until a knife comes out clean when inserted into the centre
Cut each tin into eight and enjoy!

Nutritional Information: (calculated using myfitnesspal.com)


                       Calories   Carbs     Fat     Protein     Sodium     Sugar
           Total:      2578      444       68         72           2398       269
 Per Serving:         161        28        4           5            150         17


Thursday 27 December 2012

(Attempt at) Gluten Free Yule Log

Hey, Jess today with what can only be called a work in progress post!

I've been gluten free for about four years now, which is four christmasses without all the nice christmassy things - mince pies, christmas cake, christmas pudding, cheese & crackers, ferrero rocher, gingerbread biscuits...the list goes on. But one thing I've really missed is yule log. Everybody loves that over indulgent, far too rich slice of chocolate cake and chocolate cream and chocolate topping when you've already eaten a week's worth of calories in one sitting and really can't manage any more. How could anyone enjoy a christmas without that sickly addition? So, despite having never made a gluten free swiss roll before, I decided I'd give it a shot this year so that I wouldn't miss out. It came out kind of 'rustic' as we shall call it, but it tasted nice all the same.

A lot of the gluten free recipes I found for chocolate yule log involved just eggs, chocolate and sugar. In my head, this was chocolate meringue, so I found a recipe that contained flour. But having made this recipe, I think I will be brave and try a eggs-and-sugar one next time (although I am spending my next christmas in New Zealand, so I may have to find another excuse to make a chocolate log cake before that..shame...). So anyway, by all means try this recipe, it may just be that I'm really bad at rolling swiss rolls. And I do think it would benefit from some xantham gum, I was just too lazy to buy any as per usual.

Cake
1/2 cup caster sugar
1/2 cup granulated sugar
2/3 cup gluten free flour blend
4 large eggs
1/4 cup cocoa powder
1/2 tsp baking powder
1/2 tsp salt
1 tsp vanilla essence
(Your desired quantity of your favourite) Liqueur

The original recipe suggested to use a 9 1/4" x 14" x 1 pan to bake the cake in. I just used what was in my Mum's cupboard. It may well be that size, but I don't know for certain and I'm not getting a ruler out to check. But it needs to be square/rectangle shaped and be suitable for cooking a thin layer of cake, obviously. Anyway, line the pan with foil and preheat the oven to gas mark 6. 
Sift the caster sugar, flour, baking powder and cocoa together. This is probably where the xantham gum should be added too.
Beat the eggs, salt and vanilla in a food processor (or by hand if you're not lazy) for about 5 minutes. Gradually add the granulated sugar, then the flour-cocoa mix, folding and beating it all together until the dry ingredients are wet. Don't over mix it.
Pour the cake batter into the tin and bake. Now, the original recipe suggested 13 minutes, but mine was done in 10. So check it after 10, but leave for longer if it needs it. All ovens are different.
I'm not really sure why it looks kinda wrinkly, but it tastes nice anyway


Once baked, leave the cake to cool for about an hour or so. Once cool, dust the top with caster sugar and turn out onto a clean piece of foil, removing the original foil. Brush the cake with your chosen liqueur with a pastry brush. I used Cointreau, as christmas is a time for chocolate orange flavoured things (and my mum didn't have Baileys in - I know, christmas without Baileys hurt me too, but the Cointreau was actually amazing. Particularly when added to everything, ever). Let this soak in for a little while, i left it to soak whilst I made the filling for the cake...

Chocolate Fudge Buttercream
200g icing sugar
50g butter
2-3 tbsp cocoa powder
Some milk (or Baileys/Cointreau/both)

Melt butter in pan. Add cocoa powder and cook for a couple of minutes. Leave to cool. Slowly add icing sugar until everything is added together. Add a little bit of milk (or your desired liquid) slowly, and keep mixing until you eventually have a glossy, chocolate fudge cream.
Use a whisk to remove any icing sugar lumps if you have the patience...


 I haven't specified the amount of milk needed because these things just need to be added until they are ready, and despite following the other quantities to the gram you will still probably end up needing a different amount of liquid here. I added too much, then had to add more icing sugar, and then I ended up with waaaaaay too much Cointreau chocolate fudge buttercream (again, such a shame). So anyway, once you have a thick chocolate fudge, spread it over the cake, leaving a little gap at one end. 


And then roll it up like a swiss roll. I used cling film. But the cake broke. And it ended up with a big mush of chocolatey fudgey Cointreauey cakey goodness. Which tasted beautiful with a little icing sugar dusted on top. But didn't really look brilliant. As you can see. But my family enjoyed it, including my extremely picky brother, so I'm happy with the overall outcome. 


Now, no more chocolate cake recipes. Everyone is on a diet for the first month (or week, or day, or hour) of the year, so in the new year there will be some more healthy recipes to try!

Hope you had a lovely christmas and have a great new year :)

Wednesday 26 December 2012

Vegan Baked Tofu Bourbon Cheesecake

Tom today,

Before I went vegan cheesecakes were my speciality. My mum had a recipe for an oreo cookie cheesecake that once I tried I made for every family/friends dinner we had (or went too) for years. This is an attempt to relive that cheesecake using a recipe I originally made for a blueberry cheesecake. It is possibly marginally healthier than the original version, but definitely an indulgent treat. Therefore perfect for the festive season. I actually made this for christmas day at my parents house, and it went down a treat even with a new york lemon dairy cheesecake sat next to it.

Ingredients:

2 packs 200g Bourbon Creams
25g Soya Margarine
400g pack Silken Tofu
3/4 cup Soy Milk
1/2 cup Golden Granulated Sugar
2 tbsp Cornflour
1 1/2 tsp Vanilla Bean Paste (seriously I can't get over what a great flavour this is. Normally my cheesecakes are lemon-based but this is too perfect)

Method:

For the Base -

Preheat an oven to 180 degrees Celsius
Put half of the bourbons (one pack) in a ziplock bag and bash/crush with a rolling pin (or empty bottle of wine) until finely crushed.
Melt the margarine in the microwave or in a pan
Add the crushed biscuits and mix thoroughly
Press into a springform tin (one you can remove the bottom from) with the back of a spoon, don't be afraid to really squash it down.
Prick the base with a fork gently and then bake in the oven for 20 minutes
In the meantime, blend the remaining ingredients together, except for the extra bourbons
When the base is cooked, remove from the oven and leave to cool slightly
Arrange the bourbons on the base so that they fan out from the centre, this way when you cut a slice you get some cheesecake and some pieces of biscuits (this is technically optional but I'd recommend it)
Cover with the cheesecake mixture
Bake for 40 minutes until just set in the centre and browned around the edges
This shouldn't crack like a normal cheesecake and should be okay to take out of the oven now, but if you have time too then it doesn't hurt to leave it in to cool slowly
Serve with soy cream, delicious!

The only thing I would say about this recipe is you probably dont need 2 full packs of bourbons. I went a bit overkill on the extra middle ones. I realised this when I cut myself a slice either side of one of the lines, and discovered I couldn't eat any of it as tofu soaked bourbons bake into a substance that could be used to build houses. So yeah, go easy on the extra bourbons (maybe break them up a bit) and this should be a perfect recipe. If you can managed to make a second layer of biscuit in the centre I will be very impressed as I wasn't sure that would work with this recipe (it's what I would have done with the oreos).

Let us know how your cheesecakes go at twocooksoneblog@gmail.com

With much holiday spirit still going, Tom x


You can see the wall of bourbons on the right, a tad OTT...


Tuesday 25 December 2012

Black Bean Brownies

Hey guys, Jess and Tom here today again,

This is part two of our christmas meal. These are very simple, and if you own a food processor then it's even easier! Tom: The recipe is pretty much lifted from the Happy Herbivore website (all credit to her! -http://happyherbivore.com/recipe/vegan-blackbean-brownies/) but I'm experimenting with a Toffee Apple Fudge brownie so hopefully a different version will be to follow! We won't try to convince you further of pulse-based baking, we are fully converted but if you need more convincing, these brownies will do it by themselves. However, if this is the first pulse-baking recipe you've seen, have a look at the butterbean cookies made previously for more of an explanation of how this type of cooking works. This is vegan and gluten free (as long as you use certified oats).

Ingredients:

1 can of Black Beans (drained and washed thoroughly)
1 Banana
1/3 cup Cocoa
1/4 cup Sugar
1/4 cup Oats
1/2 tsp Cinnamon
1 1/2 tsp Vanilla Bean Paste (you can use extract, but this has so much a richer and generally better flavour that it's worth investing in a pot, providing you can stop yourself from eating it by the spoonful -  we didn't manage this)
Handful of Cashews


Method:

Preheat the oven to 200 degrees Celsius
If you have a food processor, chuck everything in a food processor, pulse until mixed and then scrape into a dish and bake
If you don't; blend the beans using a hand blender, then add the rest of the ingredients except for the cashews and then blend until mixed (not smooth)
Scrape into a baking dish and then stud with cashews (if you can blend nuts using your hand blender feel free but we were pretty sure the cheap one we had would break so we left it)
Bake for roughly 20 minutes until a knife or toothpick inserted into the centre comes out clean
Cut into six and eat warm or cold


We served ours with alpro soya caramel dessert - a definite winning combination!

Hope you enjoy this recipe, and we will hopefully have a different version up soon! Let us know how youg et on making them at twocooksoneblog@gmail.com


A Vegan, Gluten Free Christmas!

Okay so in the true spirit of this blog me and Jess have got together and made an epic christmas dinner that's suitable for just about anyone! And not too unhealthy either!

We're going to be making a cashew and parsnip nut roast, roast potatoes (what christmas dinner would be complete without), roasted carrots, onions and more parsnips, an adapted recipe for roasted butternut squash, steamed vegetables, grilled courgettes and a red wine and basil sauce. We will explain the cooking all together as we did it, so the timings should be roughly right.

For the Cashew and Parsnip Nut Roast:

150g Cashews
3 large Parsnips
1 medium Onion
3 cloves Garlic
1 gluten-free ciabatta roll/bread roll/2 slices gf bread (/normal bread if you're not gf)
1 tbsp Light Soy Sauce
150 ml Vegetable Stock
1 tbsp Olive Oil
2 tsp Rosemary
1 tsp Thyme
1 tbsp Seaweed Flakes
1 tsp Nutmeg
1 tsp Mixed Herbs
1 tbsp Cornflour
Salt and Pepper to taste
4 medium Chestnut Mushrooms
Handful of french Basil Leaves

For the Butternut Squashed (yes this is an adaptation of a Jamie Oliver recipe, but we like terrible puns so the name is sticking):

1/2 Butternut Squash
2 large cloves Garlic
1 medium Green Chili
Handful (50g?) of Peanuts (or cashews or walnuts or pine nuts or anything really)
1 tsp Sake
1 tsp Light Soy Sauce
1 tsp Olive Oil

For the Roasted Potatoes:

400g Potatoes
1 tbsp Olive Oil

For the Roasted Vegetables:

1/2 an Onion
3 Carrots
2 Parsnips
1 tbsp Olive Oil
Sprinkling of Brown Sugar (optional)

For the Steamed Vegetables:

1/2 pack (200g?) Dwarf Beans
1 pack Asparagus (this was on special offer in Sainsbury's, but anything you like steamed such as broccoli or cauliflower will do)

For the Grilled Courgettes:

1 large Courgette
1 large clove Garlic

For the Red Wine and Basil Sauce:

1/2 Red Onion
1 tsp Olive Oil (really don't go over on this, you need a tiny amount to soften the onion and any more will just sit on the top of the sauce and look scummy)
1/4 cup Red Wine
1 tbsp Dark Soy Sauce (optional, I think it helps to bring the flavours of the meal together)
1 large handful Basil Leaves
200 ml Stock
1 tbsp Cornflour
Salt and Pepper to taste

There's quite a lot going on with this roast (as usual for roasts) so allow plenty of time! It took us just over an hour and a half and we've made it a couple of times. However if you're short on time I'll list the cooking times for everything below and you can cut things out as you like to reduce the time.

Nut Roast - Prep: 30 mins; Cook: 45 mins
Butternut Squashed - Prep: 5 mins; Cook: 30 mins
Roasted Potatoes - Prep: 15 mins; Cook: 30 mins - 1 hour
Roasted Vegetables - Prep: 5 mins; Cook: 30 mins
Steamed Vegetables - Prep: 5 mins; Cook: 10 mins
Grilled Courgettes- Prep: 10 mins; Cook: 5 mins
Red Wine and Basil Sauce: Prep: 10 mins; Cook: 10-20 mins

As you can see there's a pretty logical order to go by as things take shorter amounts of time to cook. We will list recipes separately for ease of reading, but point out parts in the recipes where you will want to start other parts of the roast dinner.

Method:

For the Nut Roast -

Preheat the oven to 220 degrees Celsius
Start off by chopping the parsnips up nice and small (so they cook quick) and then boilin them in salted water until soft
Drain, but reserve the water to use for the stock (it just adds a nice extra level of flavour)
Mash the parsnips (add a little bit of water back if you need too) until smooth-ish
Either grind the nuts in a nut grinder if you are lucky enough to own one, or cover them with a teatowel and whack/roll with a rolling pin until as broken up as you can be bothered to do (you can't really go too far) and add to the parsnips
Make the bread roll into breadcrumbs and add into the pan
Add the stock to the pan and leave to absorb for 10-15 minutes
At this point start on the roast potatoes
When the potatoes are boiling, chop up the onion finely and fry in half the oil until brown around the edges and soft, add to the pan (I would usually add all the oil and just fry the mushrooms in the same pan without adding any more)
Add the spices, cornflour, soy sauce, garlic and salt and pepper to the pan
Mix the pan thoroughly
Chop up the mushrooms roughly and fry in the rest of the oil
Layer half the nut roast in a baking dish, top with the mushrooms and the basil leaves
Add the rest of the nut roast and press down lightly so the top is a smooth layer
Bake in the oven for 40 minutes until golden on top, and until there is no more liquid bubbling around the edges


For the Roast Potatoes -

Peel the potatoes
Boil in salted water for 15 minutes
Toss in the oil and place in a pan and put in the oven to roast


For the Roast Vegetables -

Peel and top and tail the carrots and parsnips
Cut lengthways and then into sticks
Chop the onion into large chunks
Toss in the oil, sprinkle sugar on top and place in the oven to roast as well


For the Butternut Squashed -

Peel and chop the butternut squash
Place in a small ovenproof dish
Finely chop the garlic and chili
Add the nuts you are using
Add in the sake, soy sauce and oil and toss everything to mix and coat
Place in the oven to roast


For the Sauce -

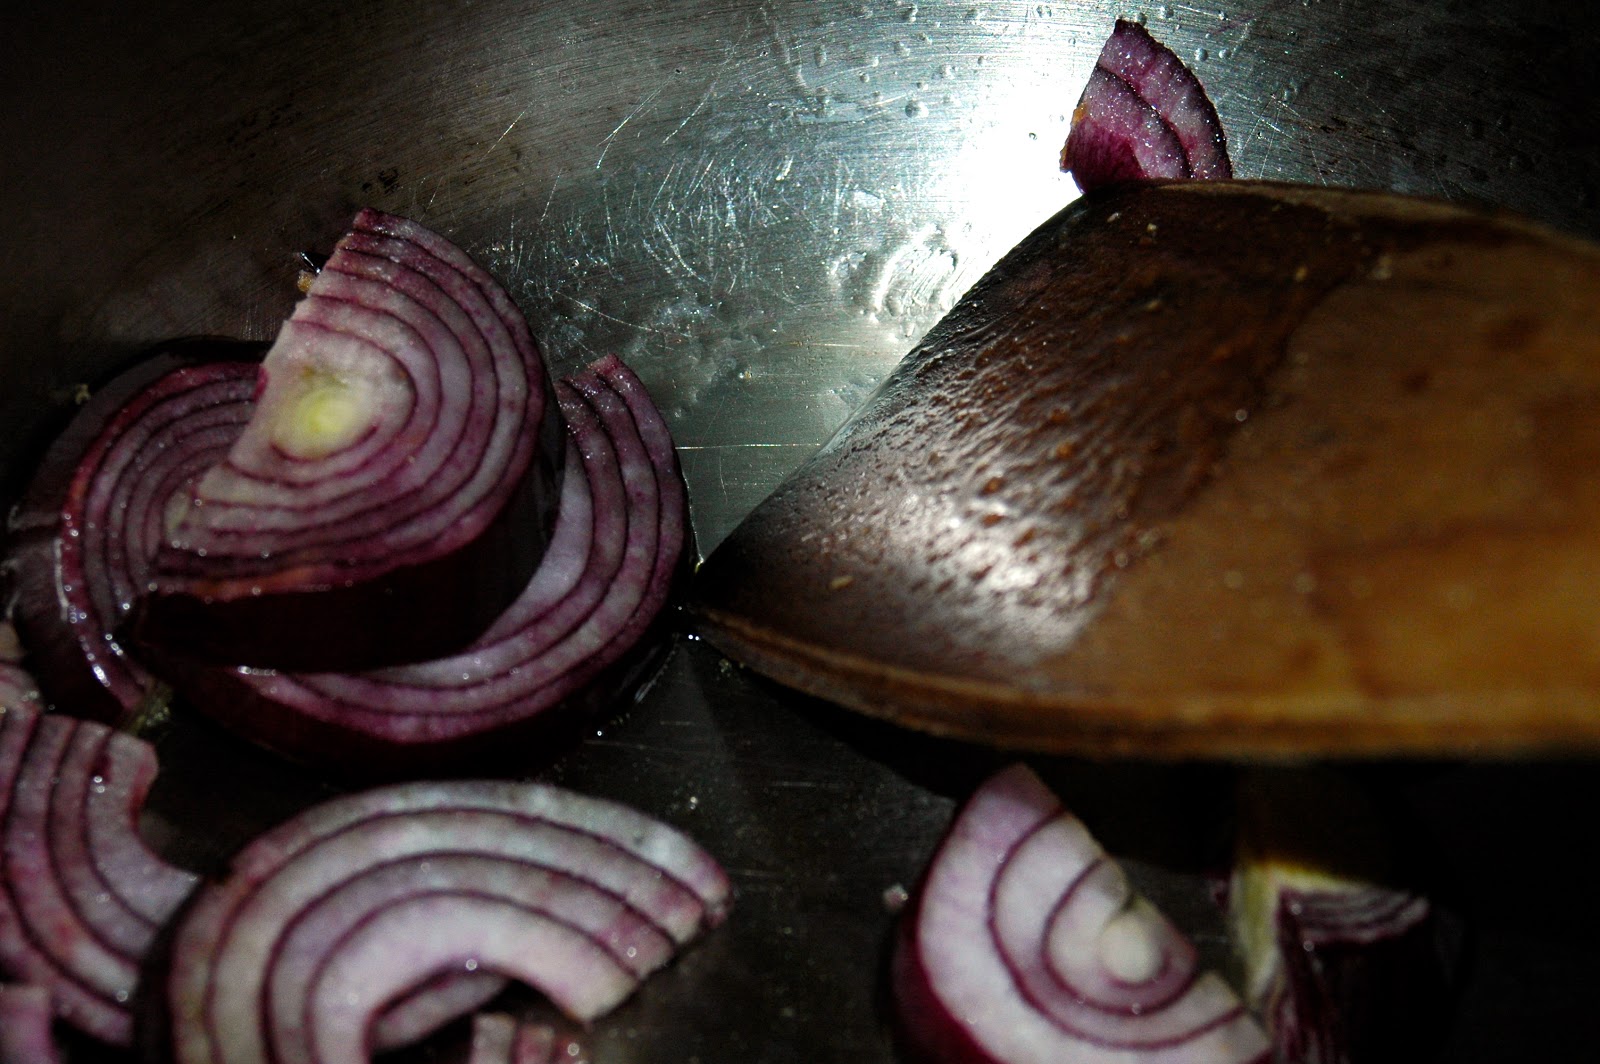
Chop the onion lengthways and then fry in the oil until soft
Add the red wine and boil briefly over a high heat
Add the basil and soy sauce and stir
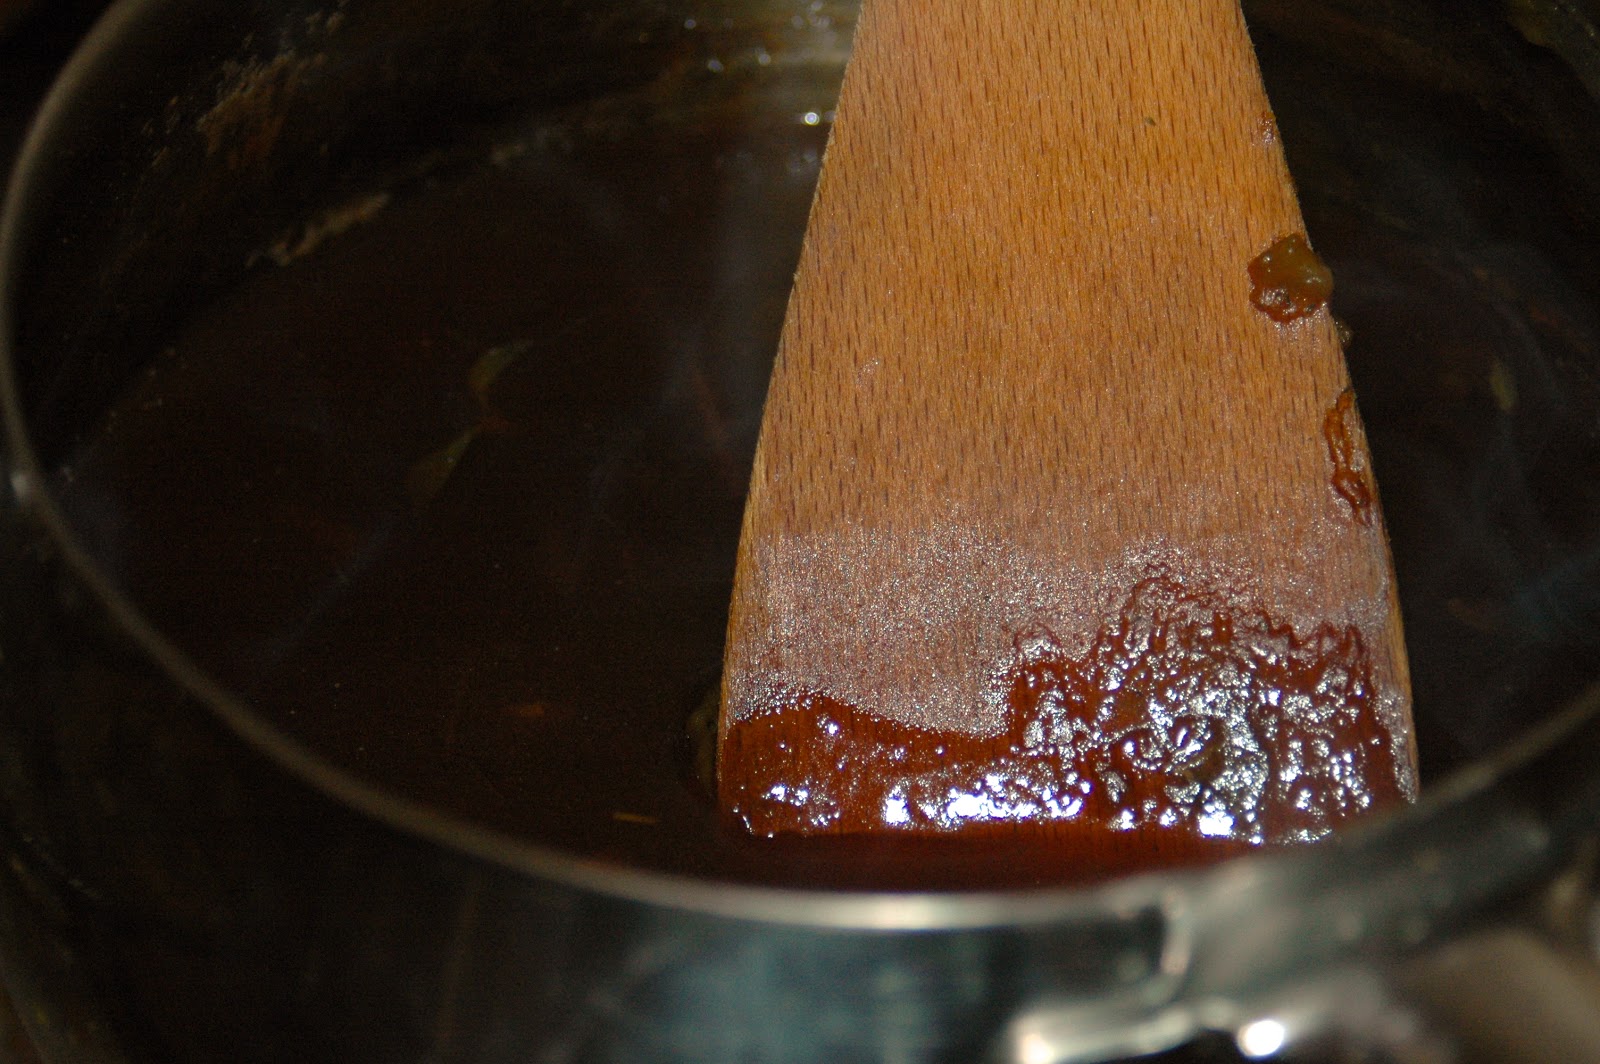
Stir in the stock and bring to the boil and then reduce to a simmer
Mix the cornflour with a couple of tablespoons of water and then stir in quickly to the sauce
Stir CONSTANTLY until the sauce thickens (really really do watch this the entire time, cornflour thickens so quickly that it you leave it it will cook and burn at the bottom and not at the top and be lumpy and generally gross)
Reduce further if you prefer a thicker sauce or leave as it is
Season and leave until you are ready to serve


For the Grilled Courgettes -

Preheat a George Foreman or other panini maker/grill, or your oven grill or griddle pan if you're using
Slice the courgette longways
Cut the garlic in half longways and then rub over the courgette on both sides
Grill until browned on both sides, flipping half way through if necessary

We added the garlic to the grill for an extra flavour boost

For the Steamed Vegetables -

This will probably be the last thing you do as they don't take long
Top and tail the dwarf beans, place in a steaming pan or tray if you own one, or if you're a poor student like us then a colander above a pan of boiling water (protip!)
Cut off the bottom inch of the asparagus and add to the steamer


When everything is fully cooked/roasted, plate up, add the sauce and enjoy!

We hope you enjoy this recipe as much as us. Nutritional Information to follow. We also made a batch of Black Bean Brownies for afters which go extremely well!

And a happy christmas from a very full Jess and Tom x


Try not to do a Tom and throw the sauce everywhere, it helps to have it on the plate.

Saturday 22 December 2012

Vegan Meatball Marinara Linguini

Tom today,

So basically, before I was vegan, pasta with tomato sauce and copious amounts of cheddar (extra-strong) was an absolute staple of mine, but since then I've found it a bit disappointing. I think all I really wanted was an excuse to eat cheese (I did love cheese). But as I need to clean out my cupboards before going home for Christmas tomorrow, I decided to use up the last of some vegan mozzarella left over from one of my more indulgent days involving a pizza. I also had a bunch of fresh tomatoes to use up, so I decided to make a basic marinara (ish) sauce with fresh tomatoes, and I have to say I don't tink I'll be using canned tomatoes again for pasta sauce for a long while. I am fully converted, this was absolutely delicious. Okay so this isn't the healthiest meal ever, but hey, it's Christmas guys....Ish. I couldn't decide if I wanted pasta with a sauce or a pasta bake, so I went in between. Good choice.

Incidentally this dish could be just as good non-vegan with meatballs and real mozzarella, feel free to substitute as you like. Also I feel I should point out (as my mum did as soon as she saw this) that this is not an Italian marinara sauce. I am using this here in the American sense (like the sauce on a meatball sub or something) just as a nicely flavoured tomato sauce. Marinara in italian means 'in the mariner's style' i.e. seafood, but vegan seafood substitutes are not something I have any experience with so I have not tried to make a vegan seafood sauce (many apologies to anyone lead here under false pretences!).

Ingredients: Serves 1

For the Sauce:

2 raw Tomatoes
2 large cloves of Garlic
Large Handful of Nuts (a recipe on the internet suggested cashews which I thought sounded nice but I used peanuts left over from pad thai! Toasted pine nuts would be another good substitute I think)
Large handful of fresh Basil (dried just isn't worth it honestly, if you don't have this though substitute for a large teaspoon of pesto)
1/2 Red onion
1 tsp of Olive Oil
Salt and Pepper to taste

For the Pasta:

100g dried Linguini (this can be easily substituted for whatever pasta you prefer, or for gluten free substitute corn pasta)

For the Bake:

2 Vegan Sausages
A good sprinkling of Vegan Mozzarella

The meatballs here are a bit of a cheat. I have tried several varieties of vegan sausages and tofu hotdogs and such and not really found any that I've liked. Linda McCartney vegan sausages are the nicest I've found, but still a bit dry (although this may have more to do with my terrible timekeeping than the actual sausage). However, I recently discovered that Sainsbury's basics vegetarian sausages are vegan and only a pound for a box of eight! Happy times. Also only 68 calories each, theya re not to bad there either. I'd imagine you wouldn't want to eat them too regularly, but for the occasional treat they come frozen and make a nice addition to a variety of meals. Anyway, I liked it, soon I will experiment and make up some proper vegan meatballs but for now, this will do.

Method:

Preheat the oven to 200 degrees celsius. Also if, like mine, your grill takes about 3 years to heat up then start that as well, this isn't a long recipe.
Defrost two of your sausages in the microwave, then cut these up into small meatball-sized chunks (I cut each into five). Place on a baking tray in the oven for about 15 minutes (but adjust to your oven and whatever the sausages say on the pack).
Next boil the pasta in salted water - add a touch of oil to stop it sticking together.
Now for the sauce, chop up the garlic really finely and fry until brown in the oil.
While this is frying, crush the nuts well in a pestle and mortar, add these to the saucepan and leave to toast/fry.
Next chop up the tomatoes into small chunks. Proper recipes will tell you to put the tomatoes in boiling water for a couple of minutes first and then peel the skins and then chop them up, but honestly, the skin blends down pretty easily and I'm not fussed, but feel free to do this if you want too. You have more patience than me!
Add these to the saucepan and cook down until soft.
Boil a kettle, and add just enough water to the sauce so you can blend it with a hand blender (if you're making more than one quantity you won't need to do this, although you might want to if you feel it's a bit thick) and blend until smooth.
Next chop up the basil roughly and add to the sauce, I like to do this now because I think the basil is nicer in large chunks, but many recipes tell you to add this before blending if you like a smoother texture, go with your gut. This is just my preference.
Chop the red onion lengthways and fry until browned separately, then add these to the sauce.
By this point the pasta should be cooked. If you like it al dente it will probably be done before this but I like my pasta cooked into a mushy oblivion so when it's how you like it, strain and place in a small baking dish.
Pour the sauce on top,  mix slightly to make sure the pasta is fully coated (or it may burn).
Sprinkle the mozzarella on top and then grill for 15 minutes until the cheese is golden.
Add the meatballs on top and you're done.


Serve with an episode of Happy Endings (seriously, I love this show. Watch it).

If and when I make a meatball recipe I'll like it here as well, until then, enjoy the recipe!

NB// Just remembered I meant to add capers to this, will make a nice addition to the sauce if added at the same time as the nuts.

Nutritional Info:

The sauce works out at 111 calories, the meatballs are 136, the mozzarella is around 70 and the pasta is 355 giving a total of 678 for this rather indulgent meal. But worth it.